Run the tool by following the general path of installation is Start » All Programs » SysTools Mail Migration 2010 Wizard » SysTools Mail Migration 2010 Wizard.
Check the prerequisites of the software to confirm the availability of all the needed components to carry out mail migration successfully. Now Click on OK button.
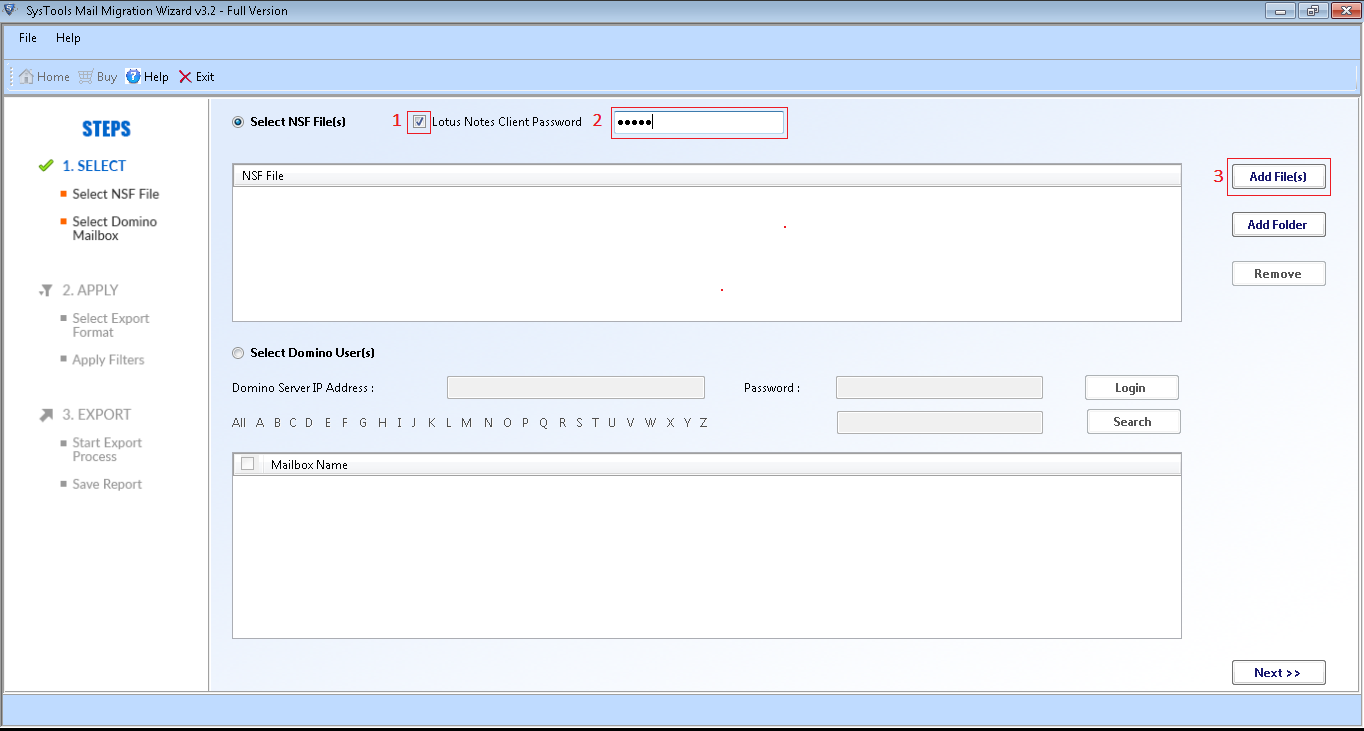
You can add source location either from server or from local desktop. Select the required option to migrate.
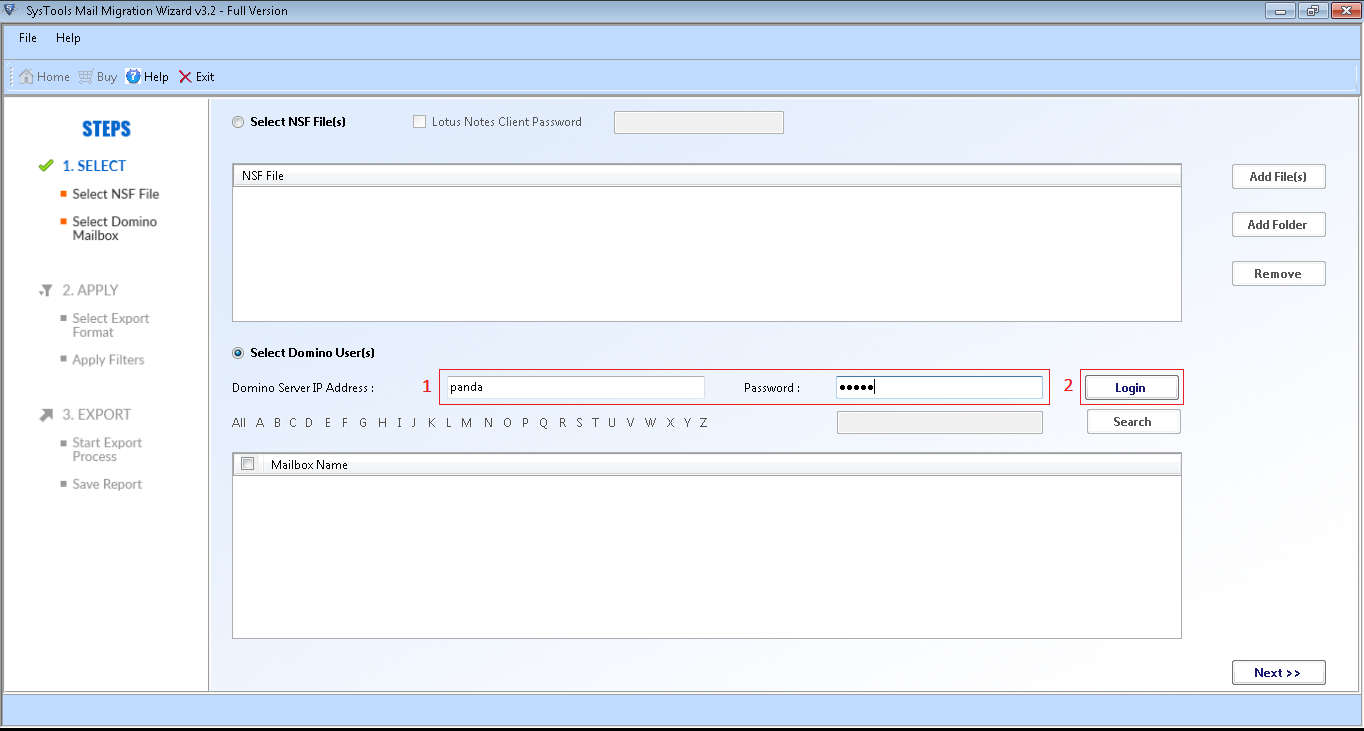
To migrate from Lotus Domino Server to Microsoft Exchange, choose Select Domain User(s) radio button and enter Domino Server Name or IP address and Password. After entering the credentials hit the Login button as shown in below image.
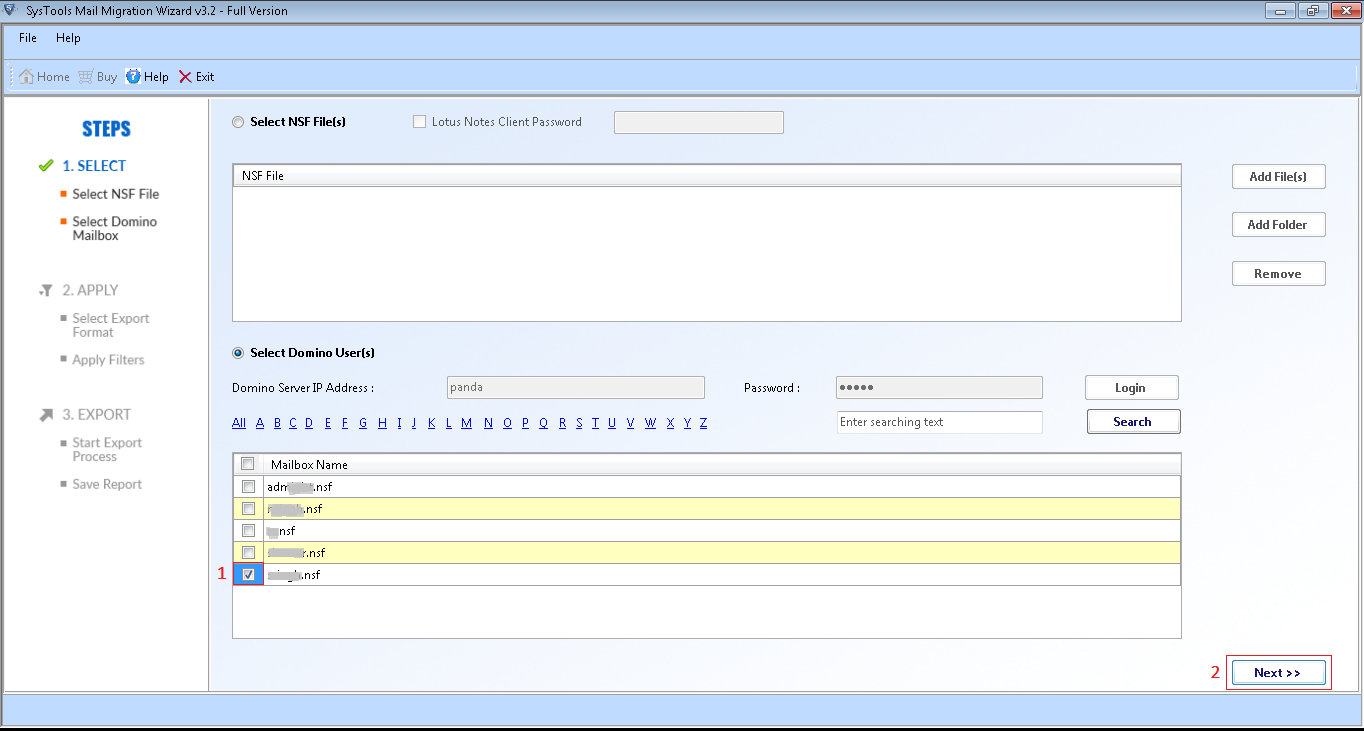
Now you will see all the NSF files that are available on Domino server. Select the file(s) and hit Next button as shown.
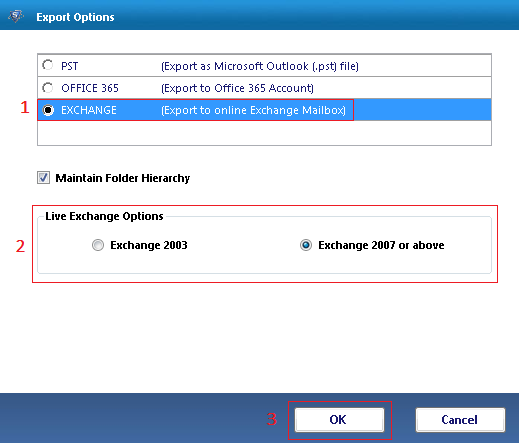
In Export Options window, you need to choose Exchange radio button and then choose version of Exchange server. In this demonstration, we are going to choose Exchange 2007 or above version of Exchange. Leave Maintain Folder Hierarchy Checkbox checked if you want the same folder structure of all items (Emails, Contacts, Calendars) in Exchange Mailbox. And hit OK button to proceed.
Note: If you uncheck Maintain Folder Hierarchy checkbox then after migration all data items will be added into the already available folder like: Domino Server Inbox mails will be added into Inbox folder of Exchange mailbox and in same way other folders will be added.
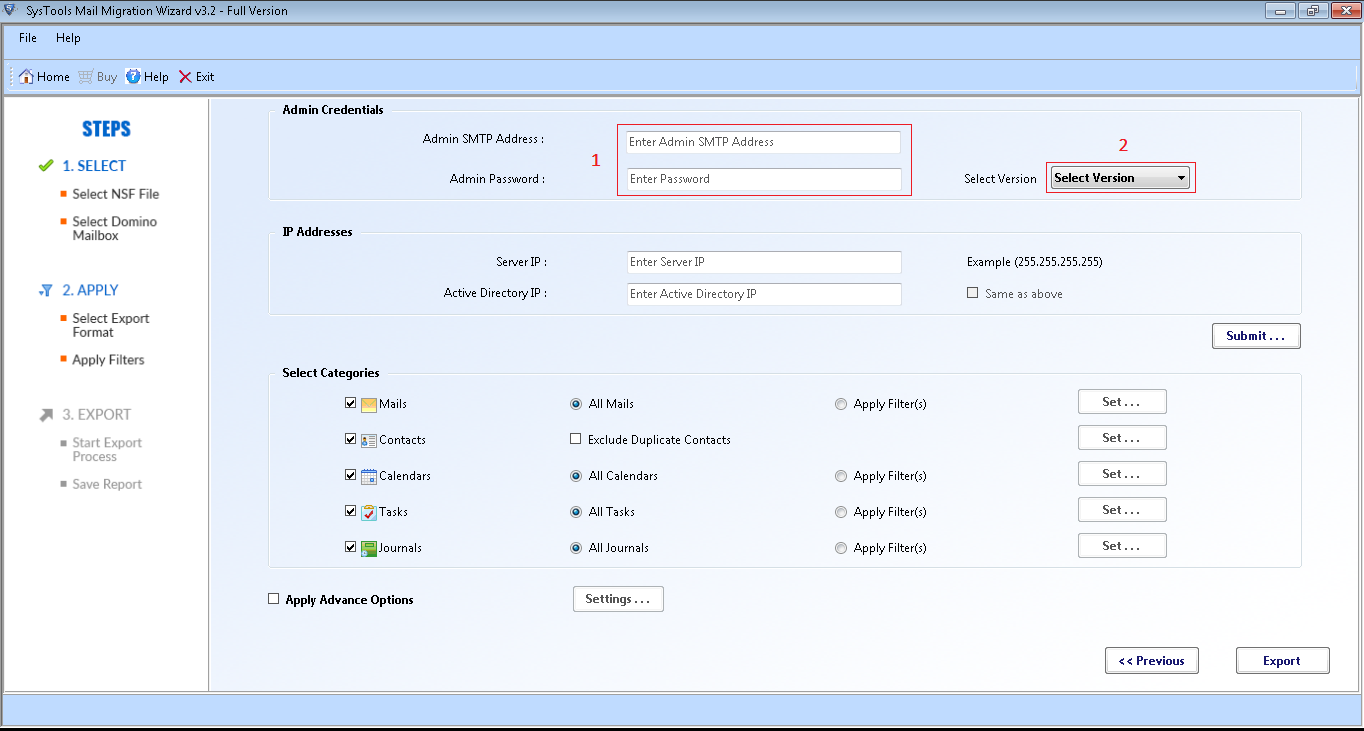
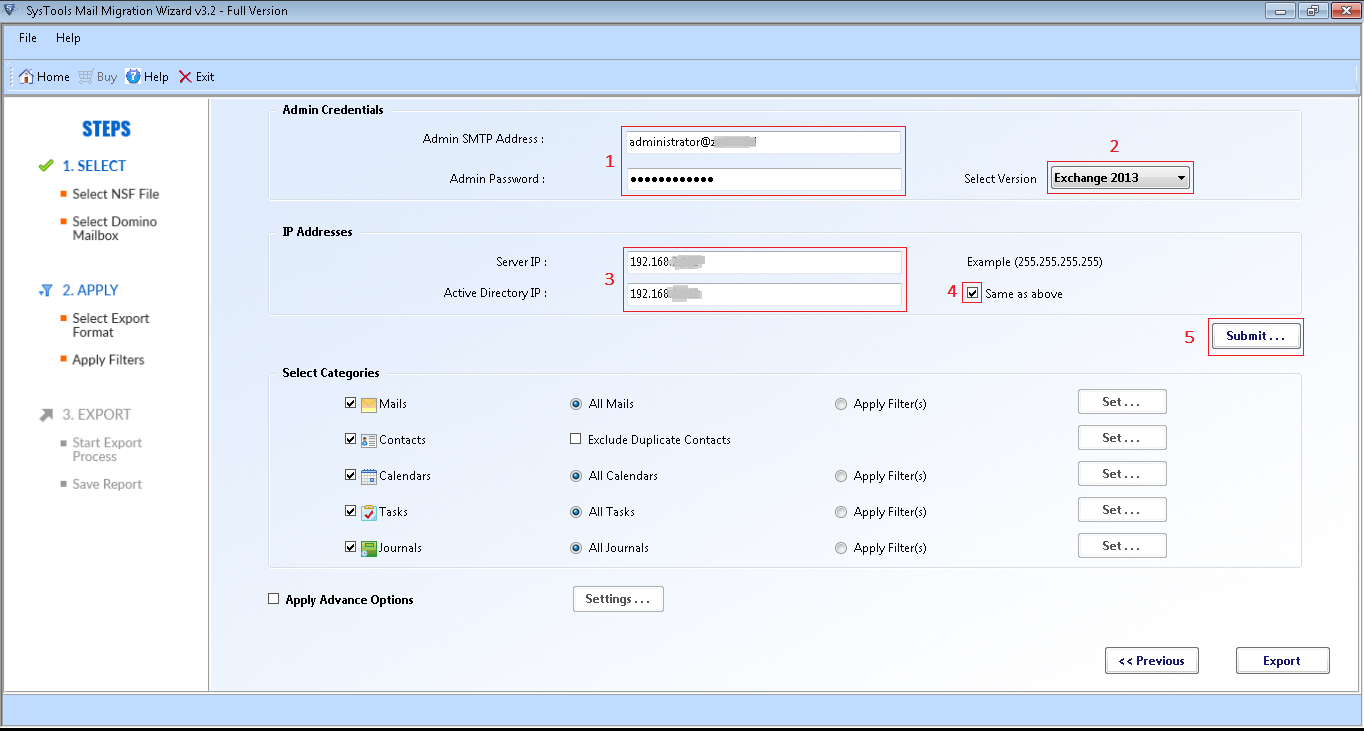
Enter Admin mail ID and the password of Exchange Server. After entering the credentials select the version of Exchange server as shown.
Now enter the IP address of Exchange Server and Active Directory. If both the IP address is same, then check Same as above checkbox and hit Submit button.
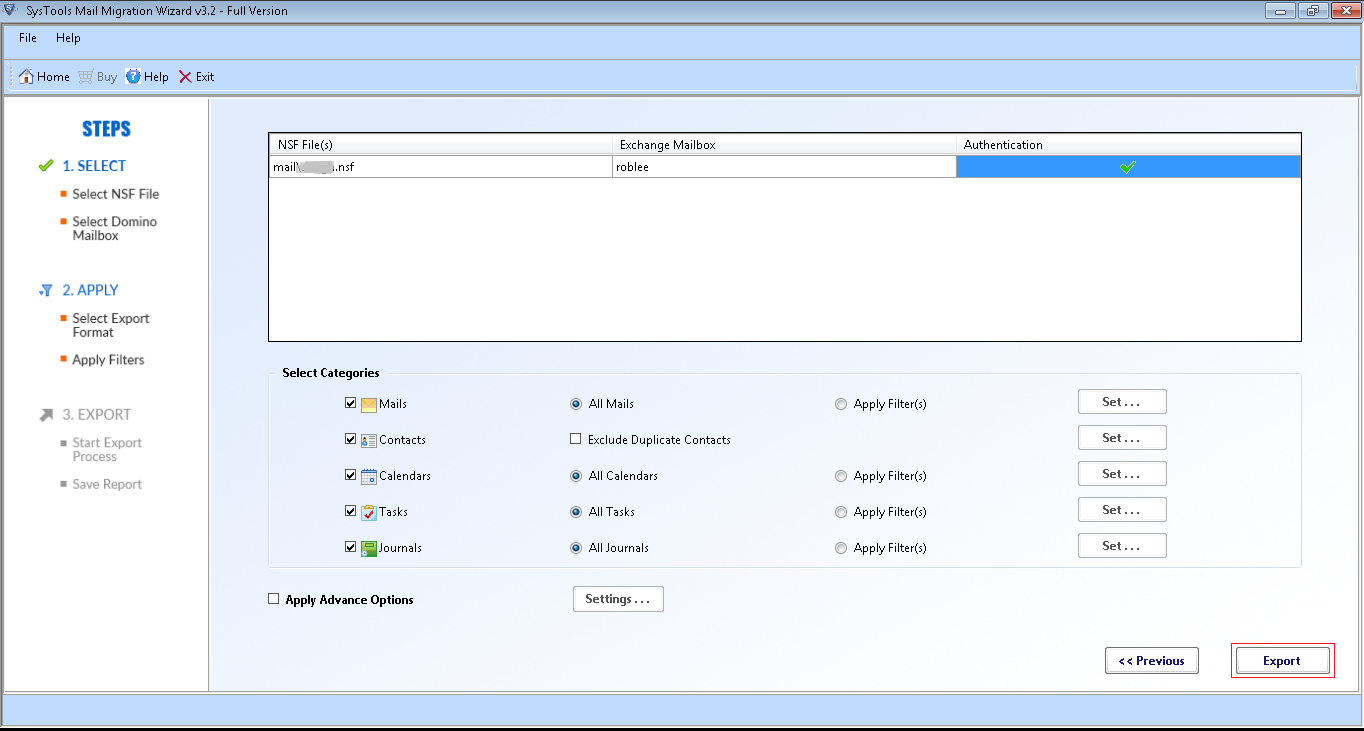
The software will authenticate automatically and after successful authentication, the Right mark in green color will appear as displayed.
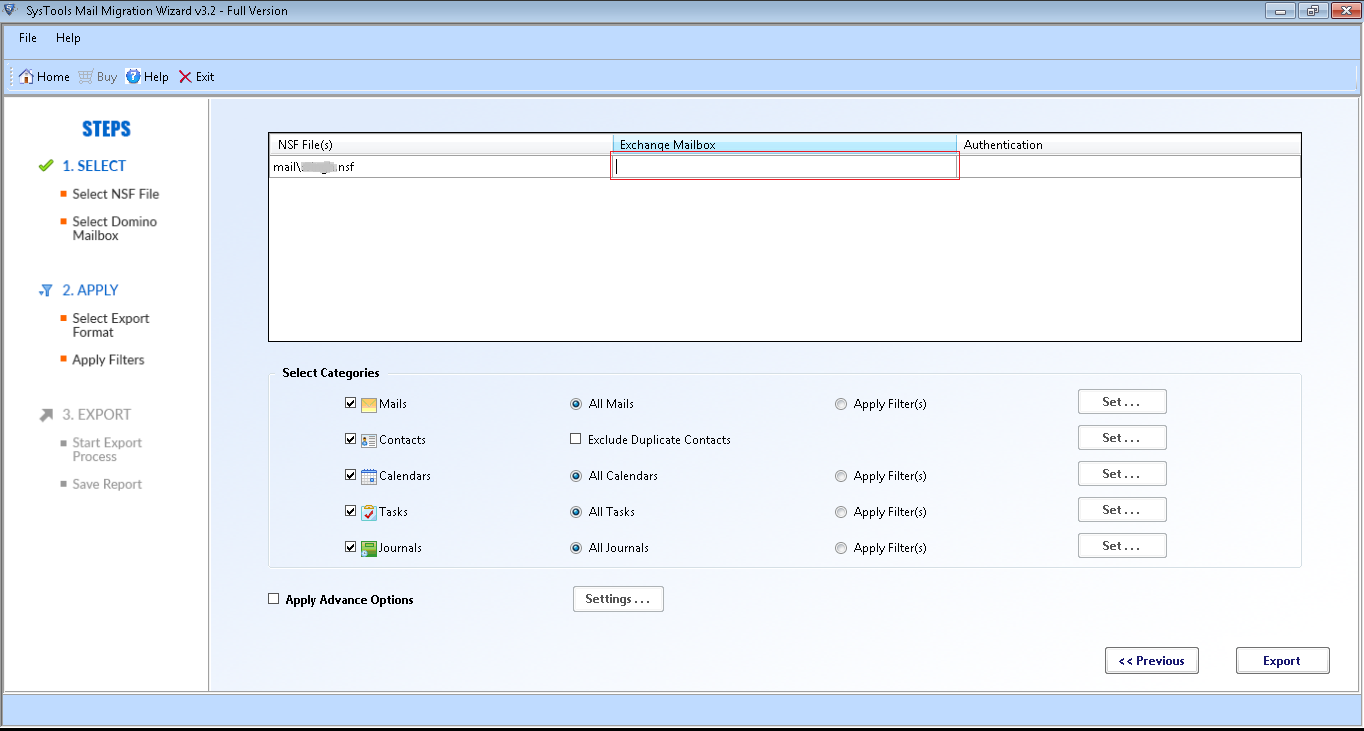
Here you can customize the categories for migration. For Example if you want to migrate only Lotus Domino emails then just check the Mails checkbox only and uncheck all the remaining checkboxes. You can also go for application of more customization by clicking on Apply Advance Options Checkbox.
After applying all customization hit Export button.
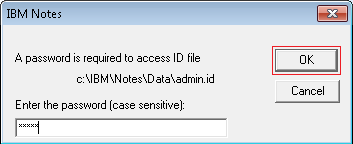
Now you will see a new IBM Notes window. Enter the Domino server Admin password and hit OK button to start the migration process.